In order to get started I’m just going to assume you already have an account at Linode/Akamai and you own a couple domain names.
Blah blah blah blah blah… Let’s just get started!
When you log into your Linode/Akamai account you’ll see something like this:
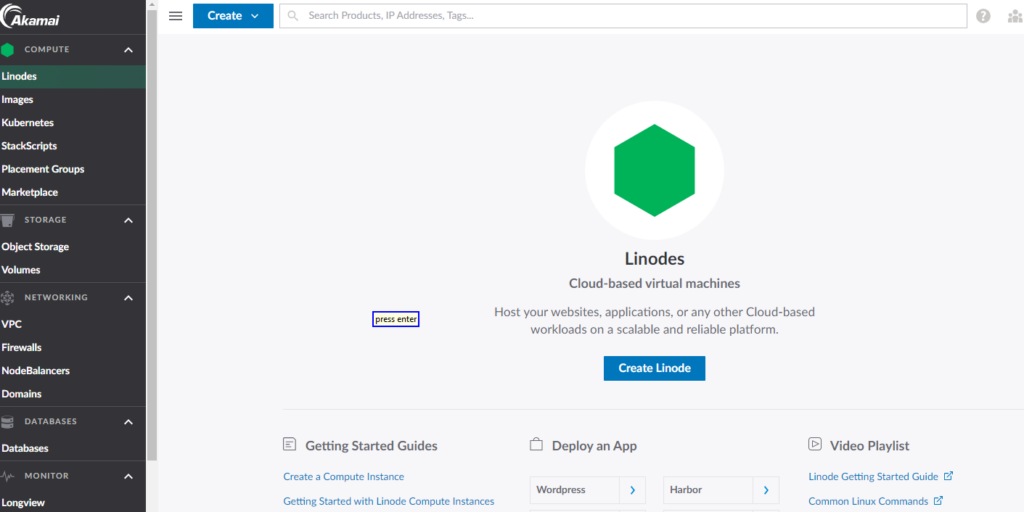
Click on the button that says: Create Linode.
On the next page is where you will set up the server. In the first box you must select a data center.
In the second box choose your Linux distribution. Make sure your distribution is supported by Virtualmin by checking here: https://www.virtualmin.com/docs/os-support/
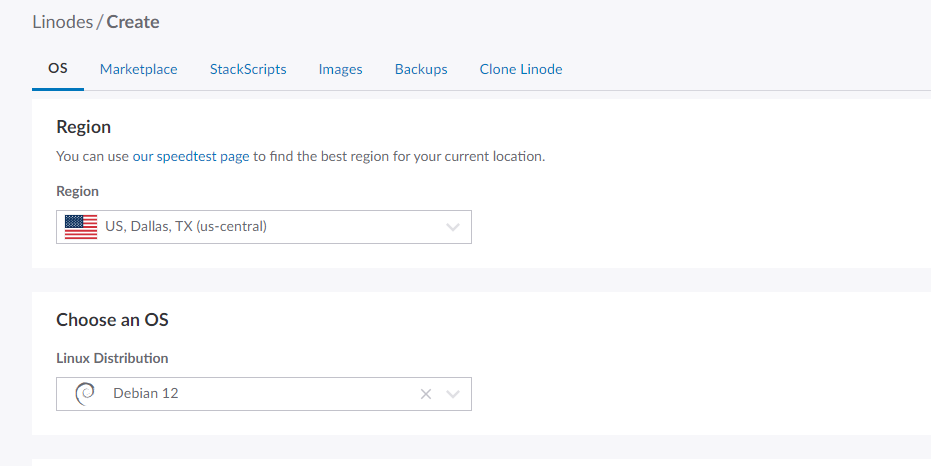
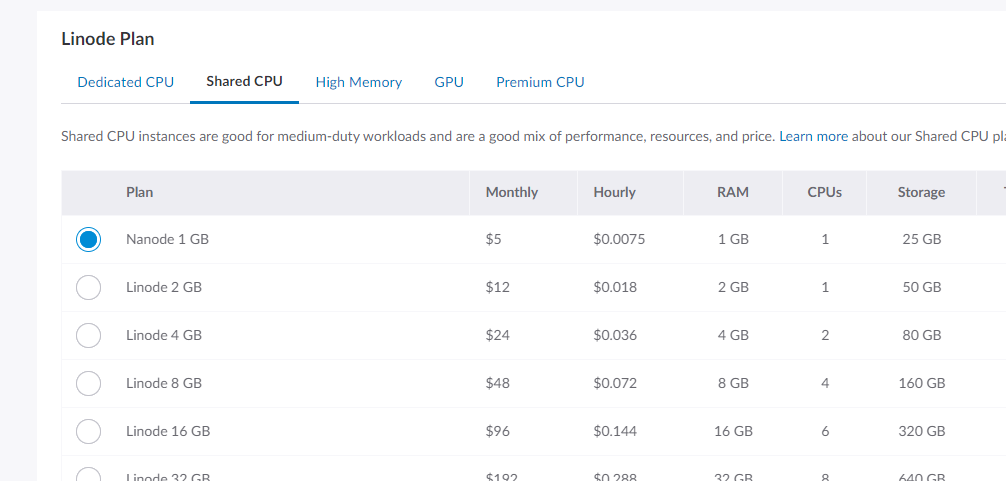
Next you need to choose your plan. Here I chose Debian 12. While I have used other distributions, I’m most familiar with Debian.
Because we’re not going to be doing a whole lot with this server (at this time) a Nanode will do just fine.
Scroll down the page and enter a robust password. For more on passwords read this short post here.
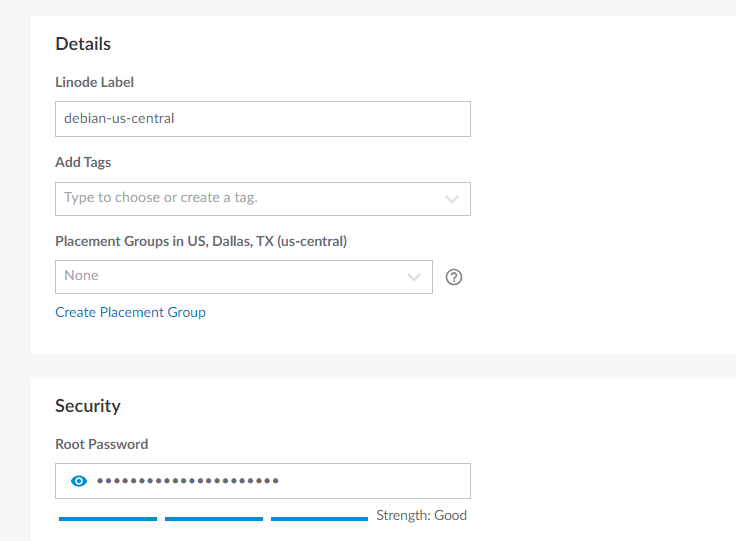
As you scroll down, don’t worry about SSH Keys or anything else. Just keep going… All the way to the bottom.
Click on the button that says “Create Linode”.

Your server will begin provisioning. And after a few minutes you’ll get a screen like this:

Now that you have your IP address, your ready to go to your registrar and point your domain name(s) at this address.
NOTE: for the sake of simplicity we are only going to be dealing with IPv4 addresses (although IPv6 addresses are cool.)
If your system does not have a fully qualified domain name (FQDN), the installer will stop and ask you to choose one. This is mandatory because many services rely on having a fully qualified domain name in order to function. Mail, in particular, but some Apache configurations and many of the Virtualmin-created configuration files, also require a valid fully qualified domain name to function correctly. A fully qualified domain name is one of the form host.example.com, or simply example.com (but do not use a name you’ll be hosting in Virtualmin).
– Virtualmin Documentation: https://www.virtualmin.com/docs/installation/automated/#questions-virtualmin-installsh-might-ask-you
Go back and read that last part again: but do not use a name you’ll be hosting in Virtualmin.
My test domains happened to be hosted at Namecheap. So I will add the following DNS records there.
On our new server, Virtualmin is going to use the FQDN panel.imfbsbn.com.
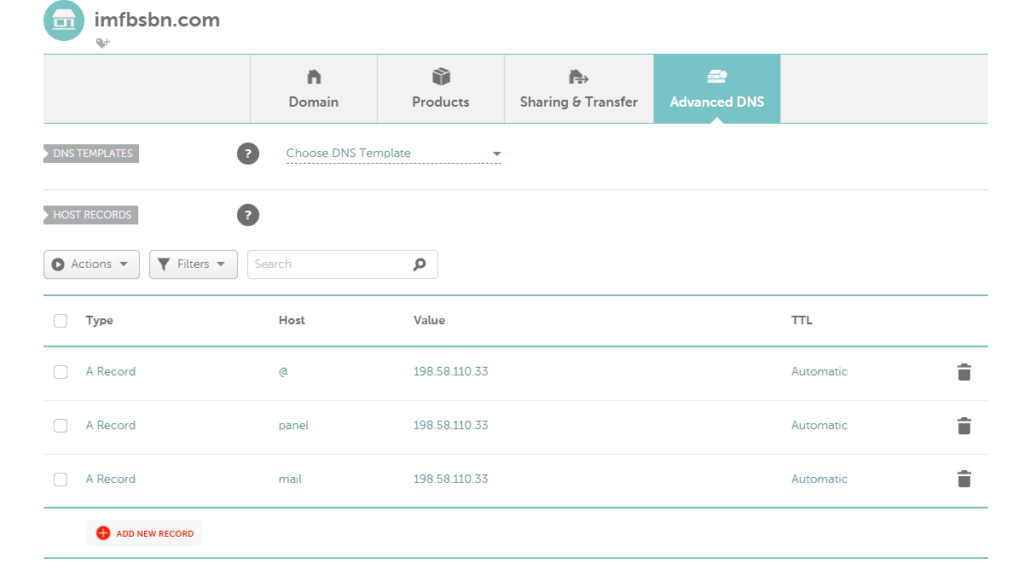
Below that is the MX record so that the server can receive email.

Now that the server is running and the DNS records are pointing to the right place, we are ready to install Virtualmin.
So now we use our favorite SSH client. Putty is very popular; but doesn’t work well for me (for reasons we’re not getting into here.) So instead, I tend to use Google Chrome with the SSH extension.
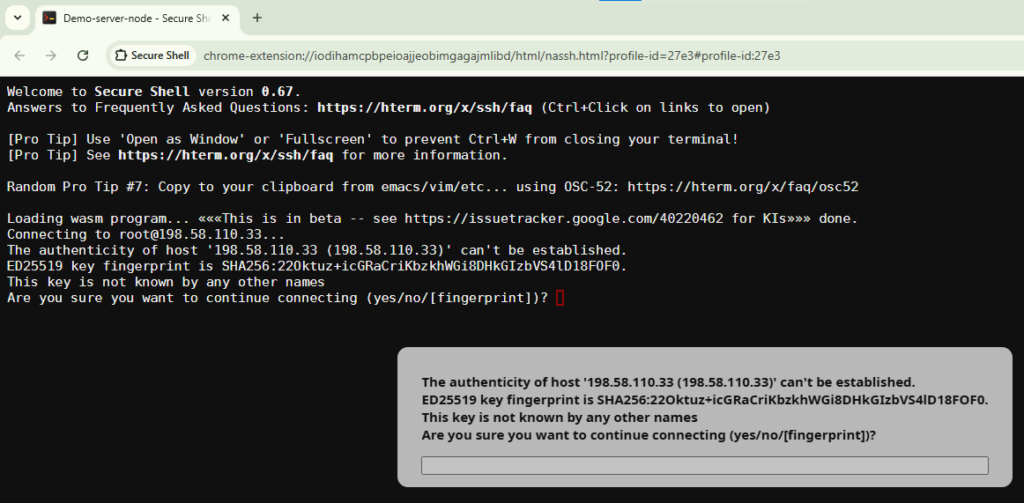
The very first time you log into the server your SSH client will record the server’s fingerprint. You will most likely need to acknowledge this by entering “yes”.
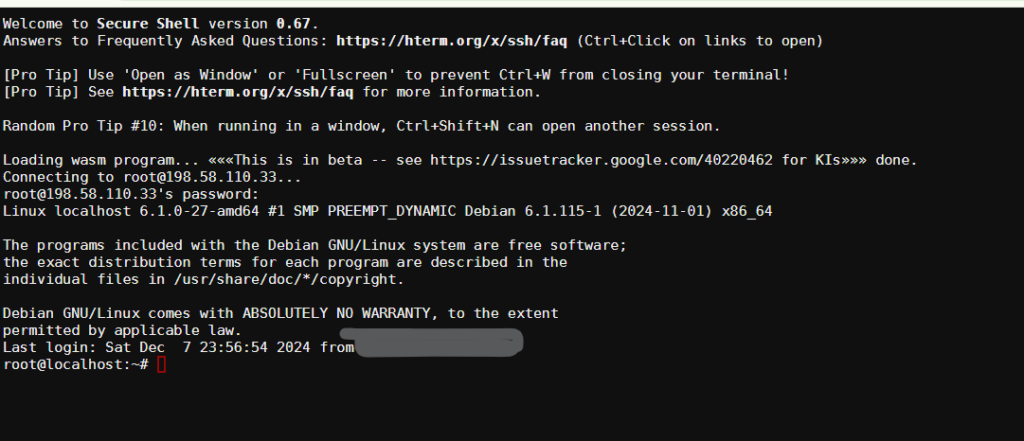
Once you log-in, you’ll be greeted by the # prompt:
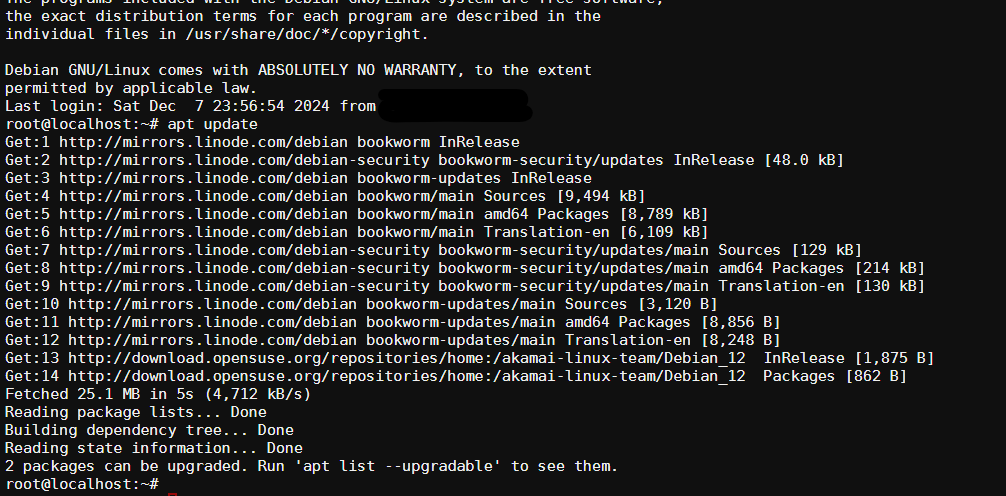
The first command you need to run is: apt update
Type in:
apt updateand press the enter key.
This is because the operating system on the server was created by an “image” that could be one week, one month, or five years old. So this command tells the package manager to contact the distribution’s servers and make a list of all of the updated packages.
Next, type in:
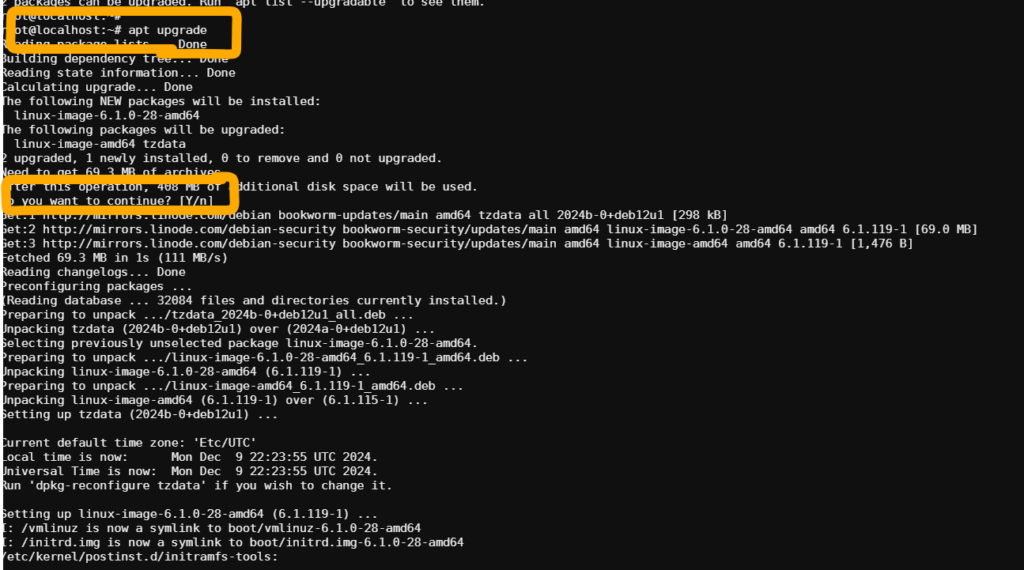
apt upgradeand press the enter key.
You will most likely be prompted, asked, if you really want to upgrade the packages. Press Y or y or enter to continue.
NOTE: see how in the question below the Y is capitalized? That means that “yes” is the default option. So you can just press enter.
Only two more steps to go.
Type in:
rebootand press the enter key.
This is to make sure the operating system is loaded with the most updated kernel available.
The server should reboot within a minute or two.
Go ahead and log back in through SSH. Then you’re going to enter the following command:
sh -c "$(curl -fsSL https://software.virtualmin.com/gpl/scripts/virtualmin-install.sh)" -- --bundle LAMPand naturally, press the enter key.
NOTE: you should always check this page here for the most updated script: https://www.virtualmin.com/download/
Your server will download the installation script and begin to run it.
The script is going to prompt you to make sure you’re running an approved OS and that you want to proceed. To continue press y & press enter.
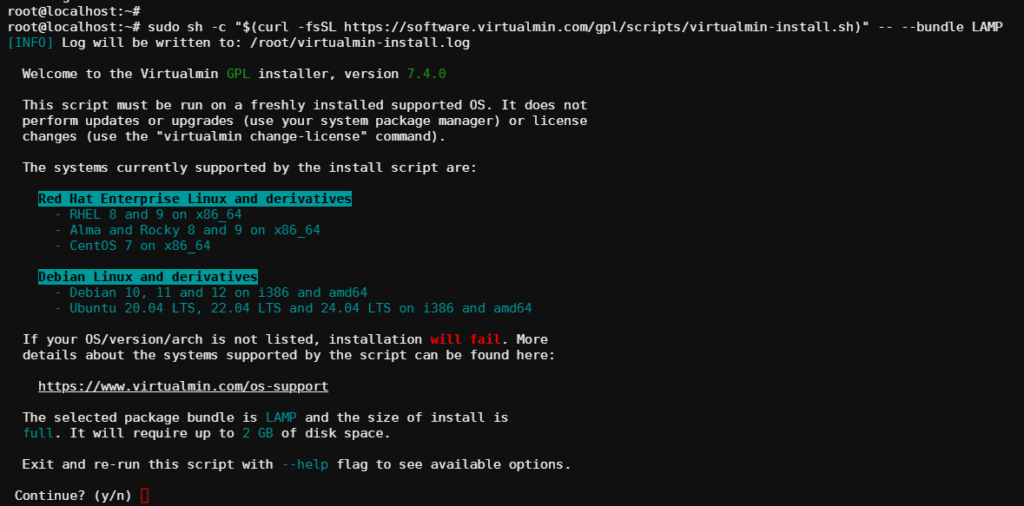
The installation script will start and give you updates along the way.
Somewhere in the process it will likely ask you to provide the “fully qualified hostname.”
This is where we will enter the FQDN where we created the DNS records above:
panel.imfbsbn.comand press enter.
Virtualmin will continue the installation process. It may take a minute; be patient (on this tiny nanode it is going to take 10 minutes. But it will go faster on bigger hardware.) The script will keep you up-to-date on progress.
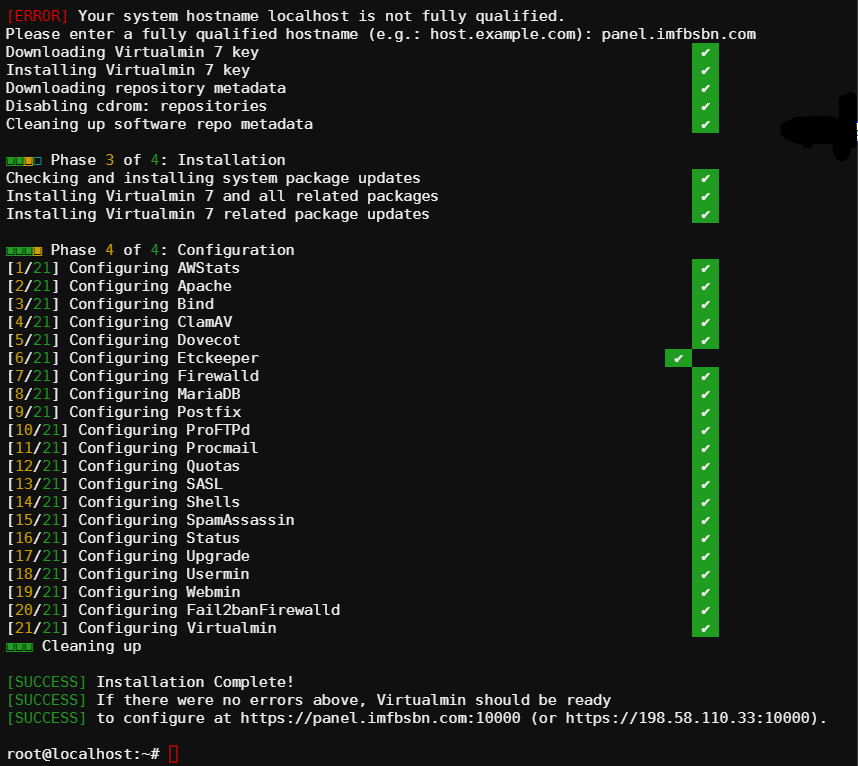
That’s it!
Virtualmin is now installed.
You should be able to access the panel/UI by using either the domain name or the IP address.
Enter “root” for the username and the password is whatever you set it to when you created the server.

The first time you login the system will take you through the Post-Installation Wizard.
For a walk through of the wizard see this post here: https://bblaze.xyz/post-installation-wizard-walk-through/
Once you have run the Post-Installation Wizard the system will ask you to run “System Configuration”. Go ahead and do that as well.
Once that’s complete you should see the dashboard… Well, if you click on dashboard, you should see the dashboard.
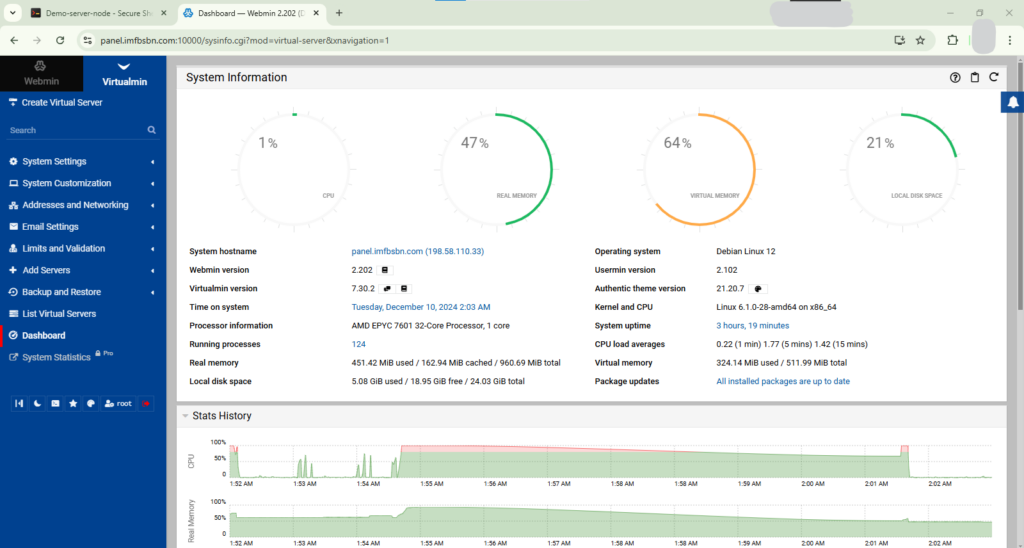
Congratulations!
You now have Virtualmin running on your own server.