Docker is a very nifty application that allows you to run other applications inside “containers”.
We are going to need Docker to run some other applications down the road. So now is a good time to install it.
To do this we are going to need to run a few commands. So scared of your favorite SSH client and log into the server.
We are going to follow the steps outlined in the official documentation for our Ubuntu server hosted at Digital Ocean.
NOTE: if you’re not using Ubuntu, you CANNOT use the commands below. Your software can keys will be different. Please check the official documentation.
Before moving on we need to talk about Ubuntu and the sudo command.
– If you have installed Ubuntu on a piece of bare-metal like an old computer you found in the basement or a Raspberry Pi, then during the installation process Ubuntu will have asked you to create an admin user. That means you log into your Ubuntu server with that username & not root. If that’s the case, then you will need to use the sudo command.
– If you have installed Ubuntu on a VPS server like the Digital Ocean droplet we created in a previous post, when you are likely logging into your Ubuntu server as root. If that’s the case, then you will NOT need to use the sudo command. Although, while older versions of Ubuntu used to scream at you, it appears the current version just simply ignores the sudo if it’s not needed. (An explanation was needed because I don’t use it in my screenshots.)
For those of you who have logged in as a user with admin rights, your commands are going to look like this.
# Add Docker's official GPG key:
sudo apt-get update
sudo apt-get install ca-certificates curl
sudo install -m 0755 -d /etc/apt/keyrings
sudo curl -fsSL https://download.docker.com/linux/ubuntu/gpg -o /etc/apt/keyrings/docker.asc
sudo chmod a+r /etc/apt/keyrings/docker.asc

# Add the repository to Apt sources:
echo \
  "deb [arch=$(dpkg --print-architecture) signed-by=/etc/apt/keyrings/docker.asc] https://download.docker.com/linux/ubuntu \
  $(. /etc/os-release && echo "$VERSION_CODENAME") stable" | \
  sudo tee /etc/apt/sources.list.d/docker.list > /dev/null
sudo apt-get update

# Install the Packages
sudo apt-get install docker-ce docker-ce-cli containerd.io docker-buildx-plugin docker-compose-plugin
. . .
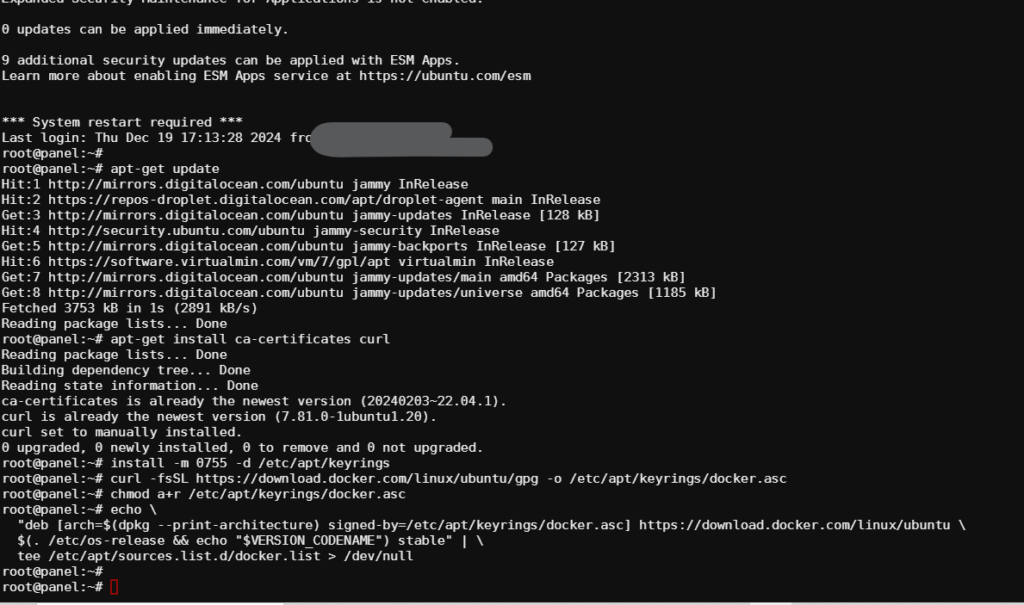
For those of you who login as root, your commands are going to look like this:
# Add Docker's official GPG key:
apt-get update
apt-get install ca-certificates curl
install -m 0755 -d /etc/apt/keyrings
curl -fsSL https://download.docker.com/linux/ubuntu/gpg -o /etc/apt/keyrings/docker.asc
chmod a+r /etc/apt/keyrings/docker.asc

# Add the repository to Apt sources:
echo \
  "deb [arch=$(dpkg --print-architecture) signed-by=/etc/apt/keyrings/docker.asc] https://download.docker.com/linux/ubuntu \
  $(. /etc/os-release && echo "$VERSION_CODENAME") stable" | \
  tee /etc/apt/sources.list.d/docker.list > /dev/null
apt-get update

# Install the Packages
apt-get install docker-ce docker-ce-cli containerd.io docker-buildx-plugin docker-compose-plugin
. . .
Working with the Ubuntu server previously created at Digital Ocean, running those commands looks like this:
The server does not give you a lot of feedback running those commands. But when you actually go to install Docker you get more information like this:
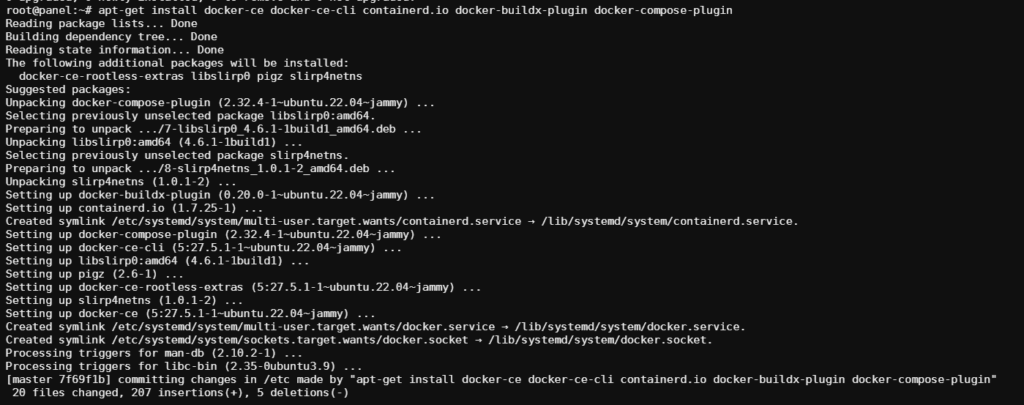
Before the system makes any changes it’s going to require you to hit Y or enter.
After that, there’s probably a screen or two of scrolling and notifications. If services need to be restarted go ahead and restart them.
When you’re done it wouldn’t hurt to reboot the whole system.
If everything went well you should be able to run the following command & have this result:
sudo docker run hello-world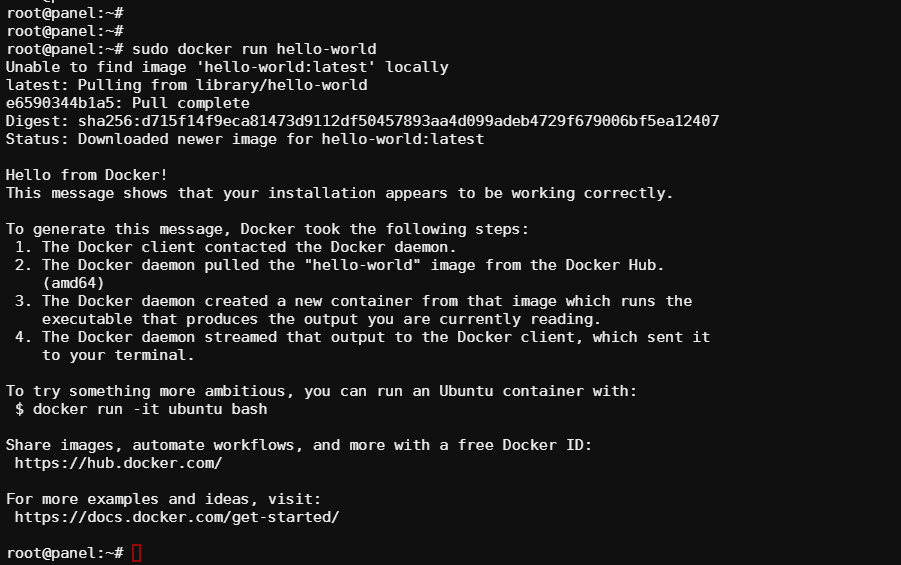
Congratulations! You’ve just installed Docker.
Now we can do some cool stuff.